The admin dashboard will walk you through linking your data, setting up your site, adding images, branding your site and adding users.
Step 1: Select Shopify
The first step is to link your data by linking to Shopify. Once you make this selection, you will be automatically moved to to the Connect Data page.

Step 2: Connecting Your Data
The second step is to connect your data. This would be products, customers, inventory, etc.
Using Shopify: You will need to enter your url as well as your secret key. Then click Save. Next, for the first data input, click "Sync Shopify Data." This will bring the data over from Shopify into your RepSpark site. Click here if you need more info on how to add tags for different pieces of data not in Shopify (ie. terms for customers, salesperson for customers, etc. This can be done once the date has been imported.

This will take you to the sync data page where you can download each sheet and fill in the data. Click here for a detailed overview of using the excel spreadsheets.

Step 3: Add Images and Upload Logo
If you are using Shopify, the images will come over once you've synced your data. If not, you can drag and drop your images into this section of the set up. Click here for more detail on how to upload images.
Step 4: Branding the Site: Upload Logo, Login Page, Cover Image, Thank You Modal
This is where you get to make the site your own!
-Drag and Drop Your Logo

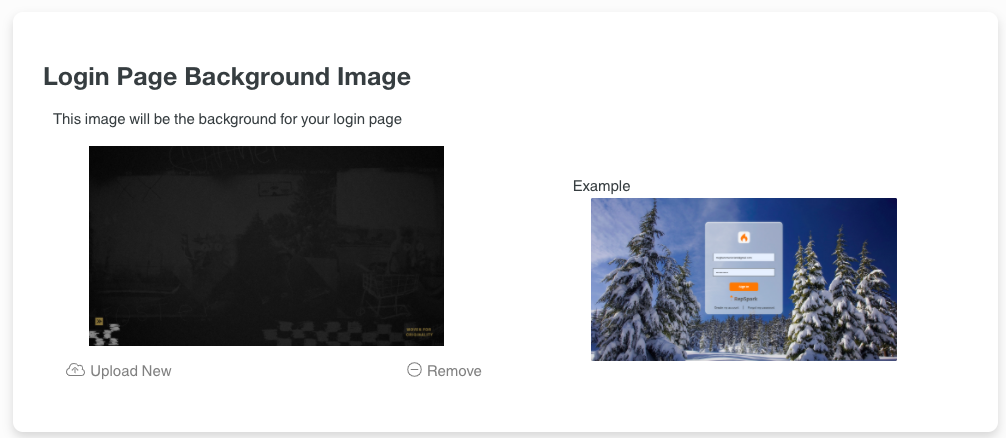
- Change your login image
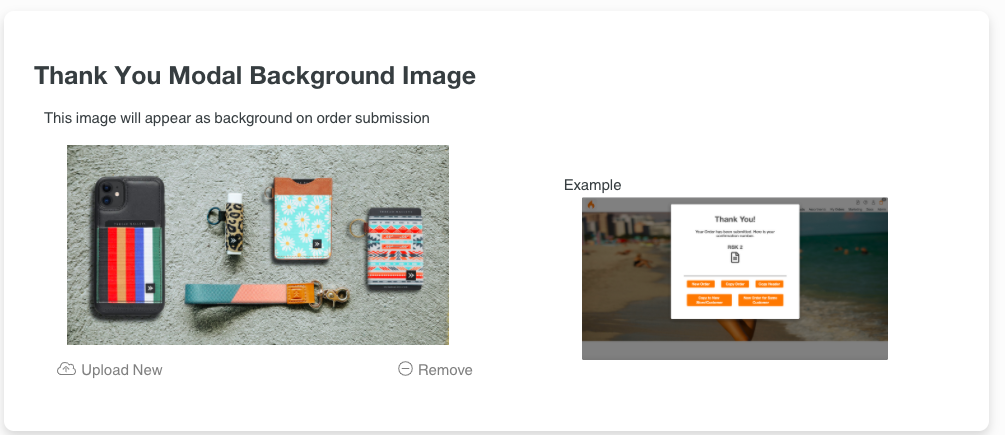
- Add a Thank you page for check out
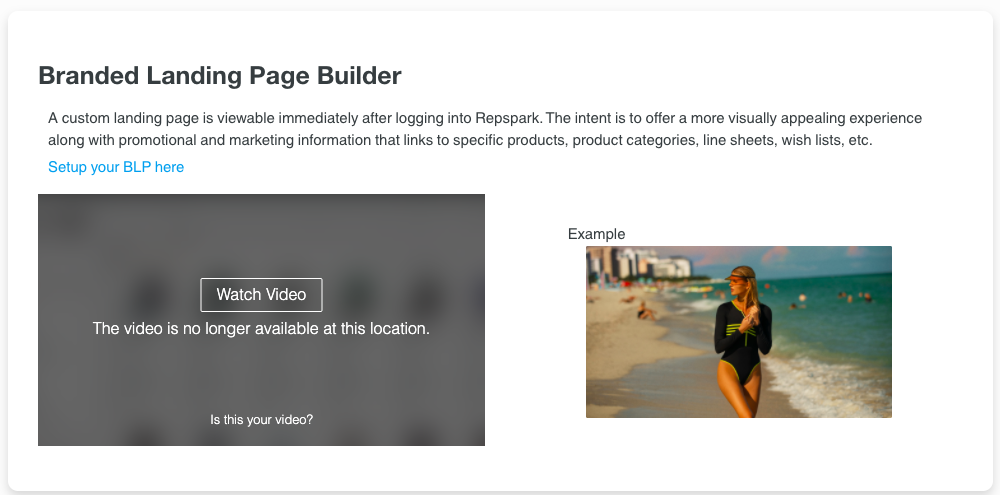
-Create a Branded Homepage
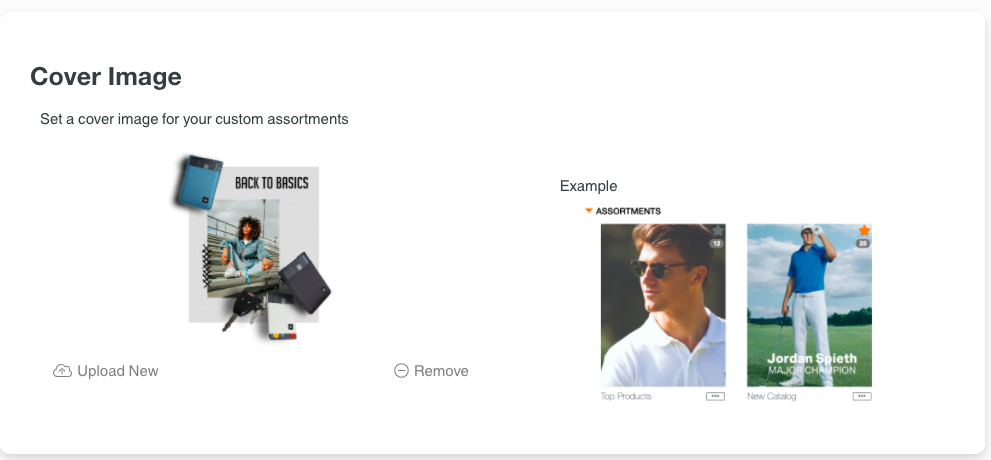
Add assortment Cover Images
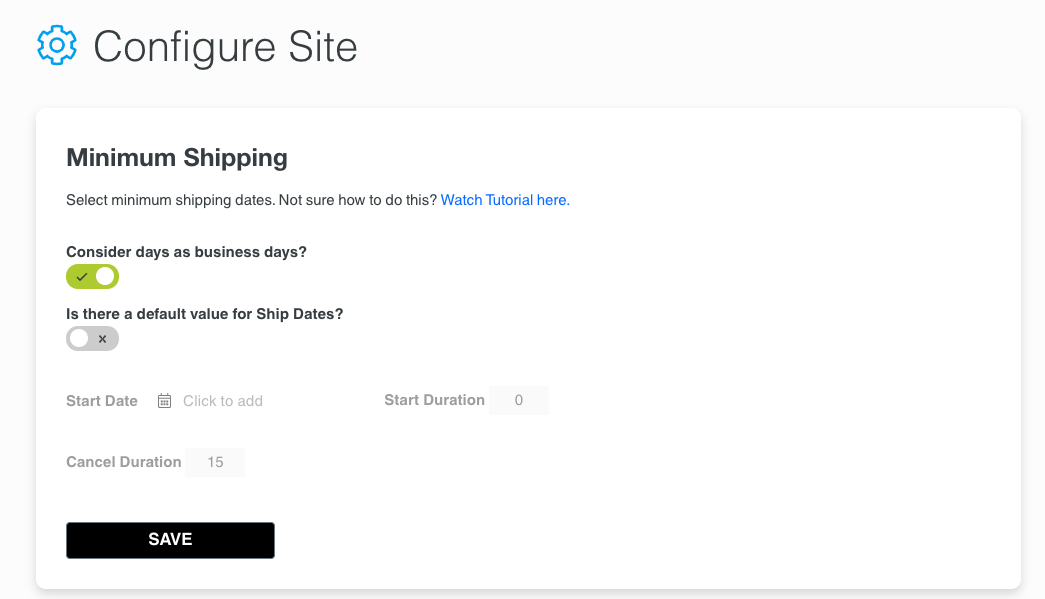
Step 5: Configure Your Site
Walk through step by step configuring your business.
-Set Shipping Options
-Design your Review Page
-Set Order Header Options
-Decide products Display
-Set Inventory, Discounting and Order Minimums
-Set Notifications
-Set up Queues
-Configure Customer Service
Step 6: Set Up and Manage Your Users
Add users and set up their roles and profiles. Click here to learn more.
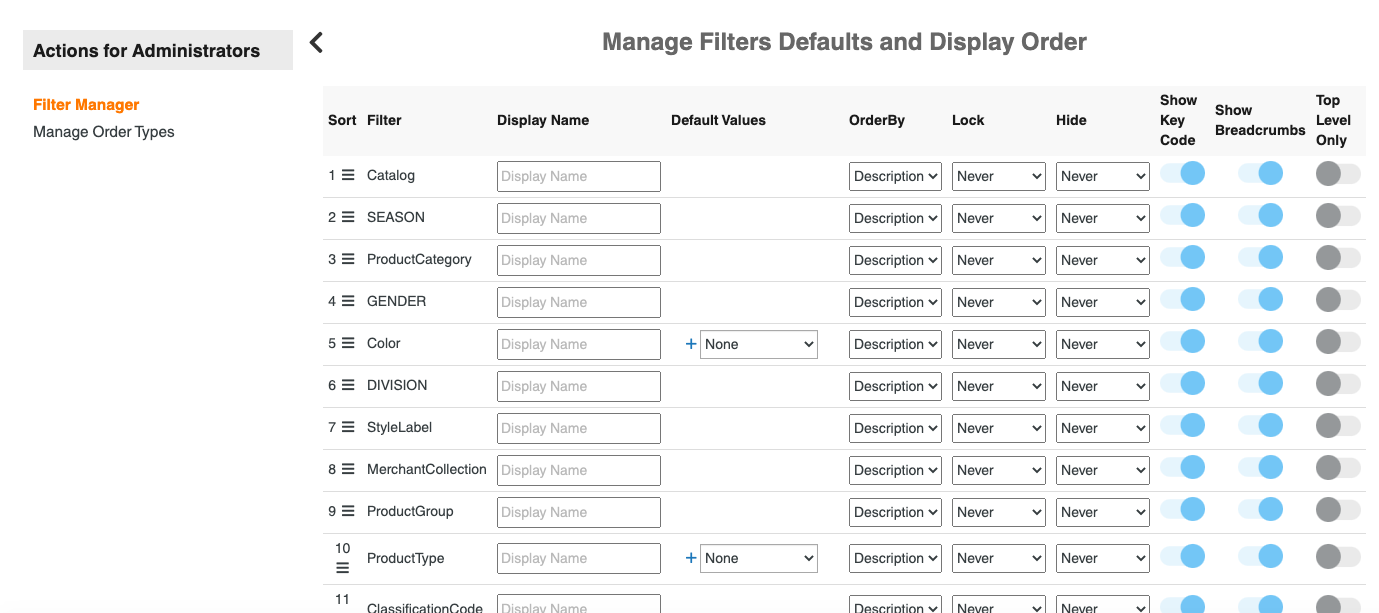
Step 7: Manage Filters and Order Types
Enable filters to see on the products page, rearrange your filters and set defaults. Click here to learn more.
You're ready to rock and roll now. Click on Products to walk through your site, see your branding and check your configurations.
-
-