Microsites: Getting Started
Overview
Microsites makes it easy for brands to set up a mini storefront and take orders, streamlining order processing and fulfillment from the brand to the end user.
How it works
Microsites are separate, customizable storefronts that operate independently from your main B2B website. They allow brands to create targeted shopping experiences for specific events, campaigns, or customer groups, while maintaining centralized control over product data, inventory, and order fulfillment.
Before you start
-
Microsites are a paid feature. Reach out to your Account Manager to get started.
Steps
Step 1 - Configure Microsite settings

-
Navigate to Microsites and click New Microsite


Configure all the relevant information on your microsite. Decide how you want to process orders, whether you want to validate emails, charge shipping, or discount your products.
Note: The Event Start and Event End dates determine when users are allowed to access and place orders on your microsite.
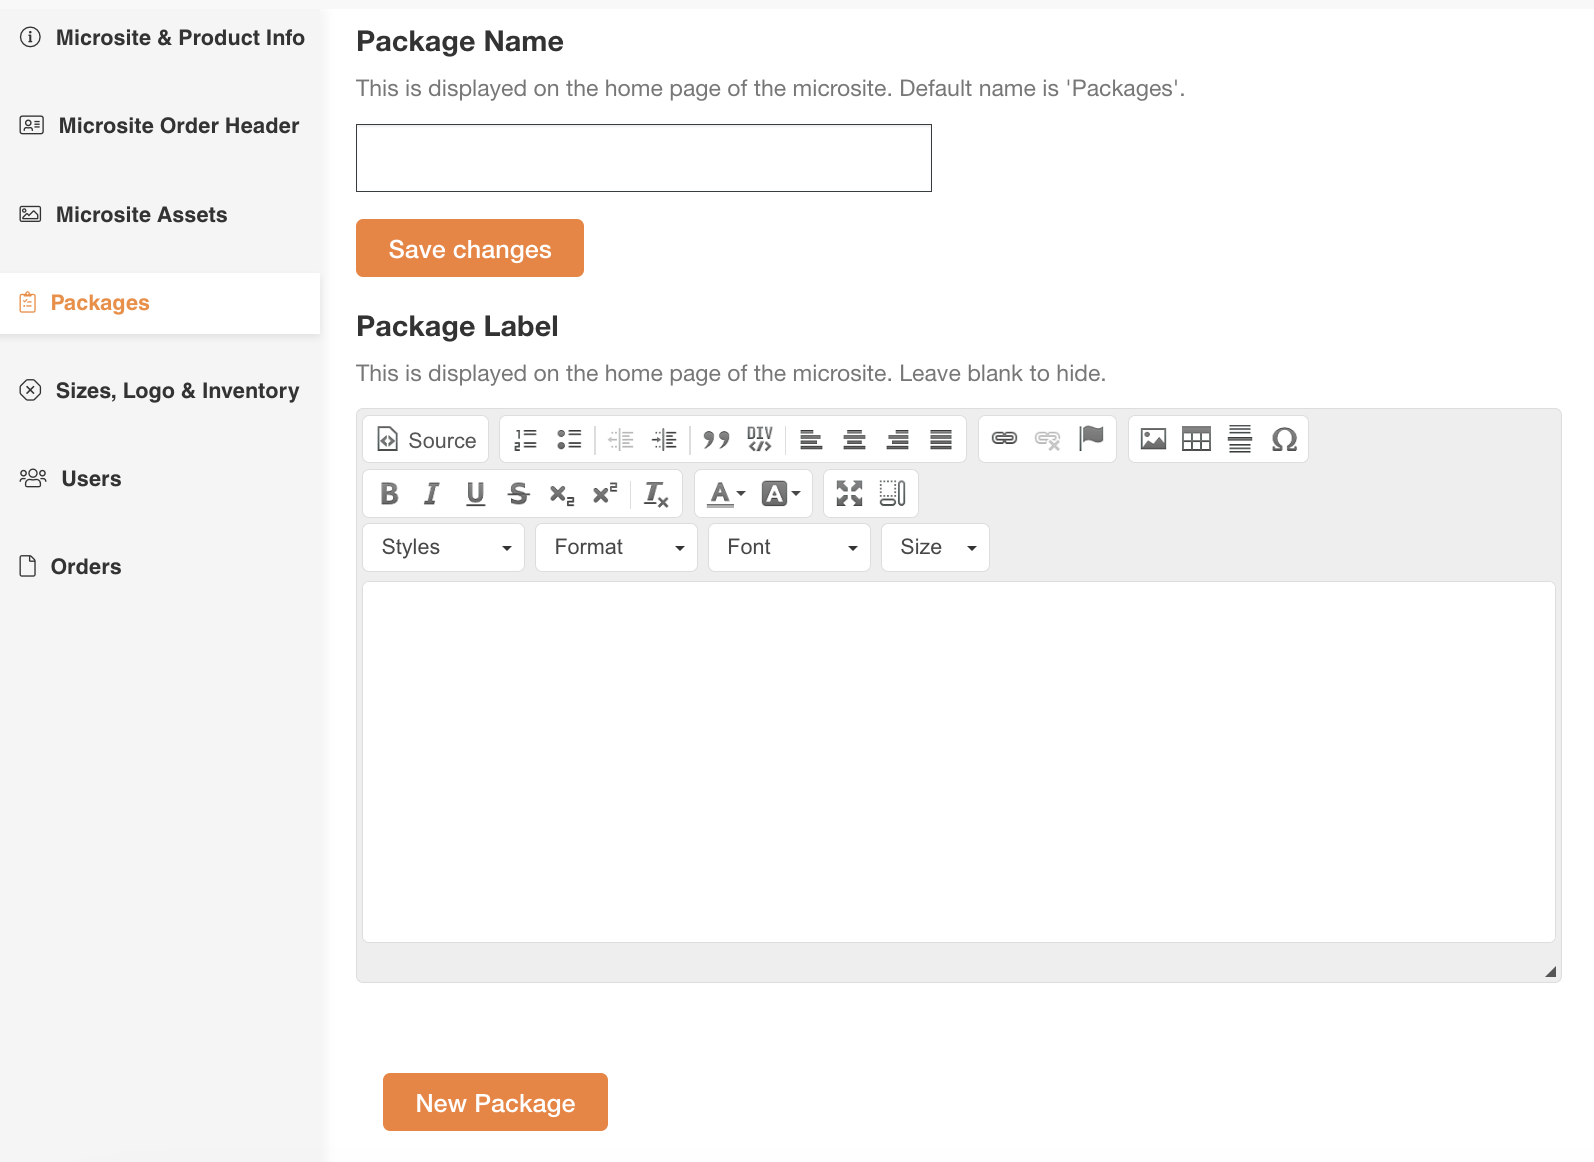
Step 2 - Add packages


Configure your products on the Sizes, Logo & Inventory tab. You can choose to use live inventory for order submission, choose each product’s available sizes, and choose a logo to apply.
Step 4 - Find your Microsite URL

Your unique microsite link can be found under Microsite & Product Info. This is the link that will be used to access the microsite event page.
