Summary
Your retailers might have specific users who only need to pay and manage invoices on RepSpark, but don’t need to place or view orders. The Payer role was created for this specific purpose. Add a Payer role as a new user to give a user permission to view, manage, and pay their invoices for their respective customer profile. You can add a Payer role to an existing user to give them access to the Invoices page, although OrderEntry and Customer roles are able to access those roles by default.
This guide will show you how to add Payer role permissions to a user.
Before you start
You must be an Administrator or Manager on RepSpark to Manage Users
Steps
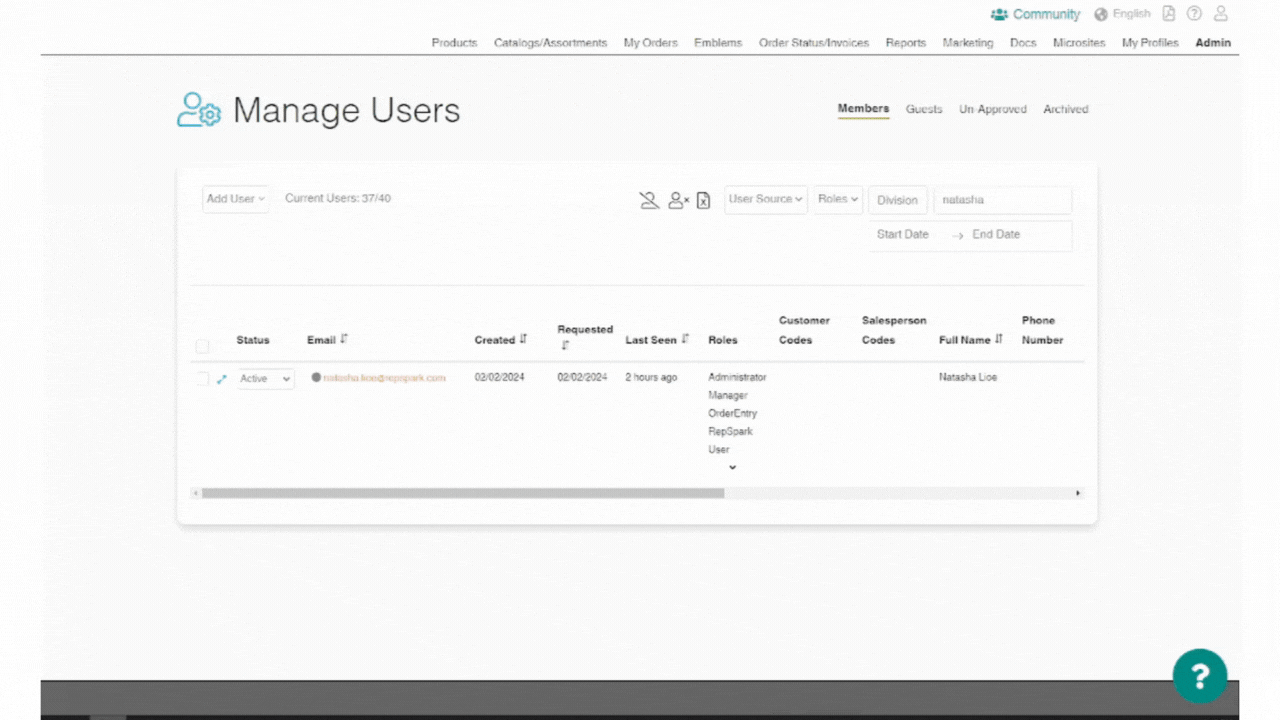
Step 1 - Navigate to the Manage Users tab
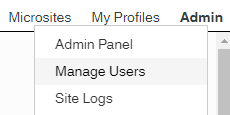
Navigate to the Admin dropdown → Manage Users page. Once in the Manage Users, you may need to add new user and invite them, or add the Payer role permissions to an existing user. Skip to Step 3 if you are adding the permissions to an existing user.
Step 2 (optional) - Add a new user
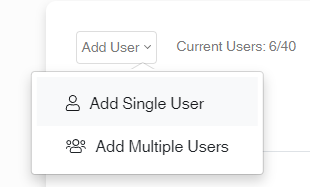
If you’re adding a new user, click Add User → Add Single User. Type in the user’s information details and click “Add New User.” Once that user is added, they will be sent an email inviting them to join RepSpark.
Navigate to the “Un-Approved” list, and search for that user you’ve just added.
Step 3 - Add user permissions
Open the user details, and under the Roles section, select the Payer role. Click "Update Roles" to save your user.