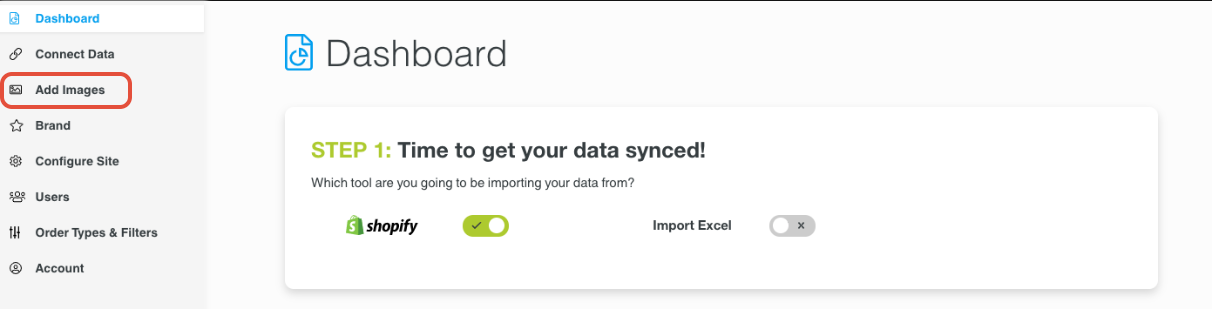
To add images to the site, go to the Admin Dashboard and choose "Add Images." Please note, if you are linking to Shopify the images will be imported automatically with the sync..
*Please note, you can use png's or jpeg's but you need to use all of one format or the other. Then, you will need to name your images properly-most likely it will be stylenumber_colorcode. If you have multiple divisions or use the same product for different genders, please reach out to success@repspark.com to help with image naming.
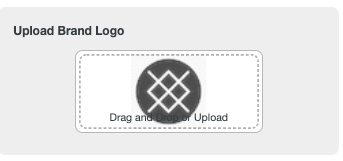
Upload Logo: By default, the RepSpark logo will display on your site. To add you own logo, simply drag your new logo into place. The new logo image will appear in the image box. The logo will change on the site as soon as you refresh the page.
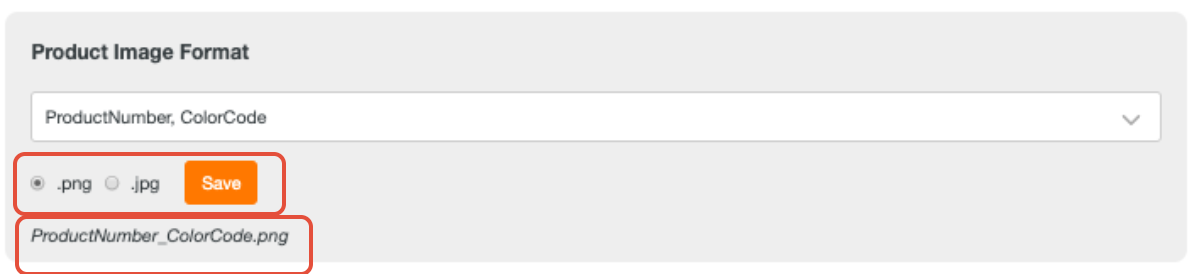
Choosing Your Naming Convention: By default, the image convention will be division code, Product Number, Color Code. If you only have one division, you will just click into the drop down and deselect the checkbox next to Division.
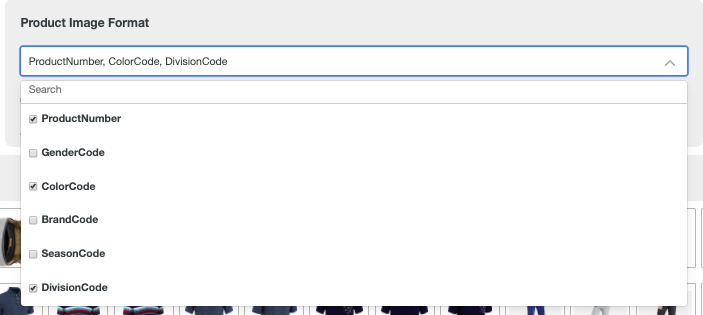
Then, you will see Product Number, Color Code. This is how image should be named productnumber_colorcode.
Then you will pick whether you are using png or jpg formats. Once these choices are complete, click Save.
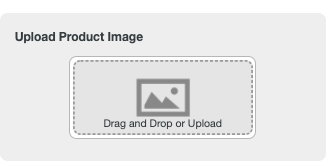
Now you are ready to upload your images.
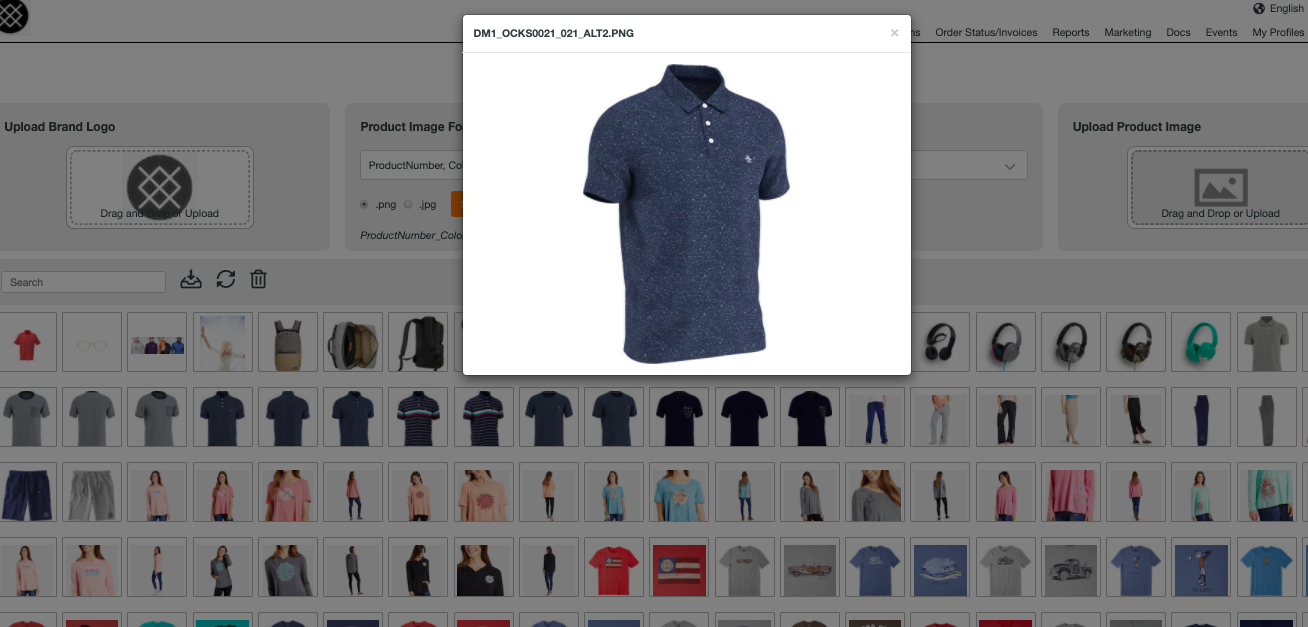
Alternate Images: If you have multiple images for a single style color, just add an _1, _2, _3 (underscore 1, 2, 3) or _A, _B, _C) to the end of the image name. The images will display in alphabetical or chronological order. Please make sure you have at least one image without an _ at the end. This will serve as the main image throughout.
Upload Images: Upload images into the upload box ONCE THEY ARE PROPERLY NAMED to match your products. You can upload in bulk or one at a time.
Once the images are uploaded, they will be displayed in the tray below.
From there, you can search for an image using the image name.

You can double click on an image to get a bigger view of it as well.