After your initial site creation, it’s important to brand your site to be an extension of your brand’s identity. This includes uploading a logo, and adding images for your site login and thank you pages.
Please see below opportunities to brand your site.
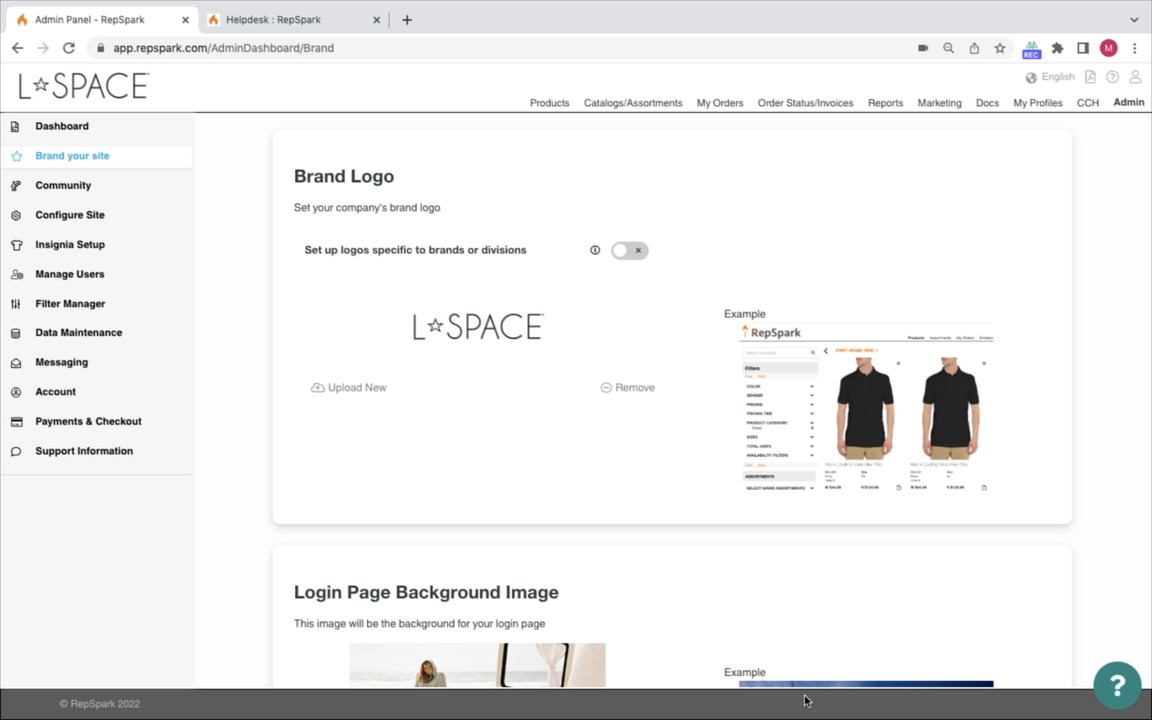
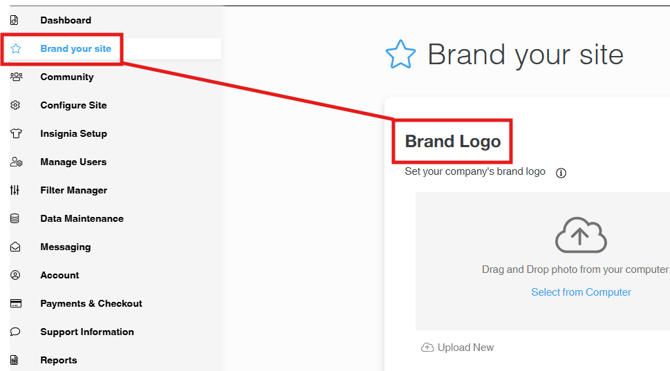
Step 1: Upload Your Brand’s Logo
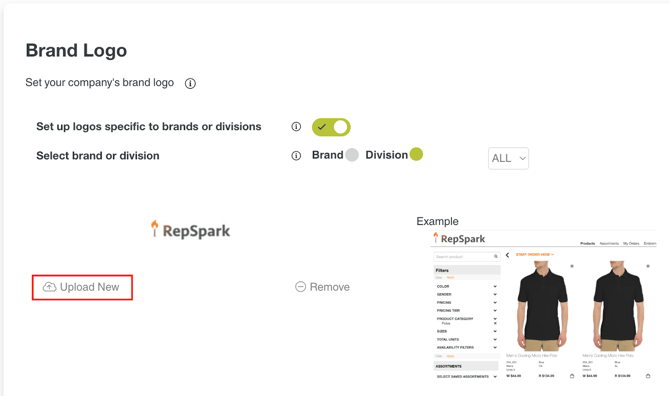
Upload your brand logo. You can click "upload new" to select a logo from your desktop. You can also toggle to add multiple logos for different divisions. This logo will show as in the login, top navigation, catalogs, emails, PDF's and order confirmations.
Your brand’s logo will be displayed at the top left on your site’s pages, and on your Community tile to customers accessing your brand via the Community site. It will be added to order exports, order forms, and email notifications to users. It can also be optionally added to features like Catalogs, Assortments, and Merchandising Sheets.
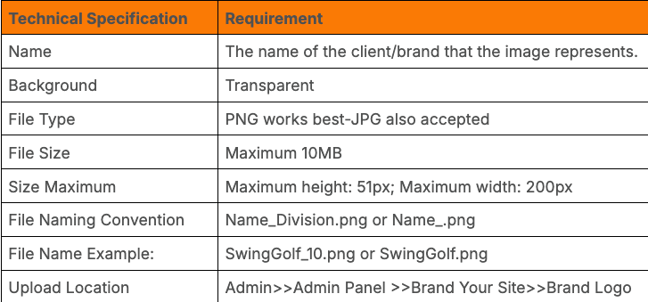
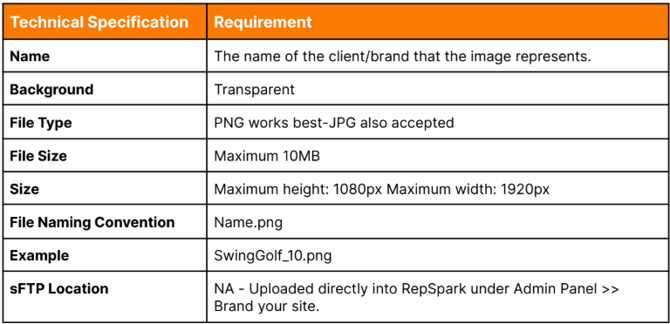
Your logo image needs to fit a certain size and ratio to be best portrayed to users on your site and on all outputs. Image specifications are below.
Add A Logo - Step by Step
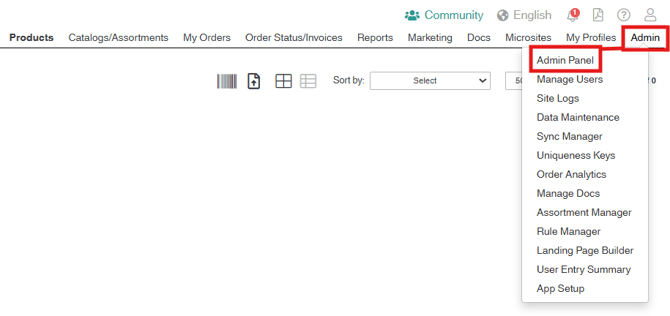
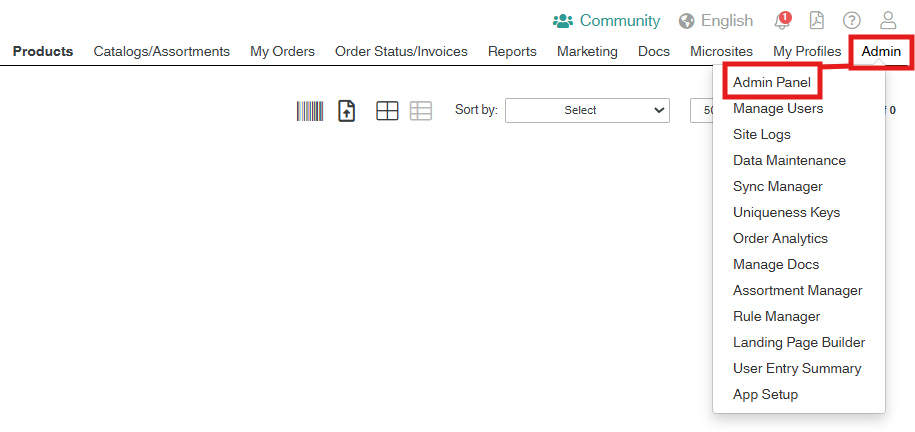
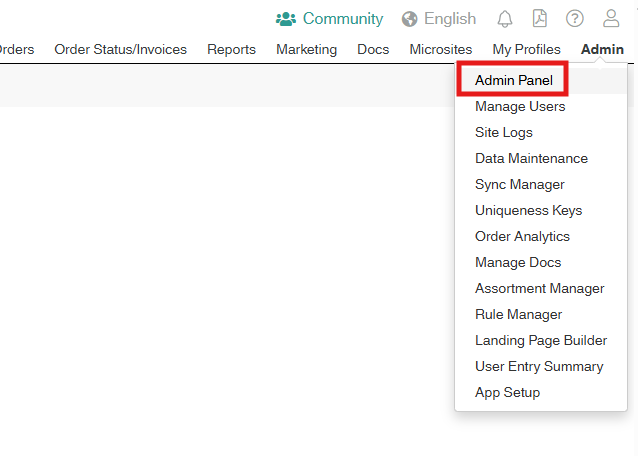
Go to the “Admin” top menu option, then click “Admin Panel” from the drop down, and finally “Brand Your Site.” The “Brand Logo” option will be first on the page.
Click "Upload New" to select a logo from your desktop.
Browse to the logo image and either double-click it, or click once and then click “Open.” The file will upload to the site and will be visible to you when you login after about 15 minutes. (If you know how to clear your cache, you can logout, clear cache and login, and the logo should show up immediately.) You can change your logo at any time by uploading a new logo to replace the existing one.
Step 2: Login Page Background Image
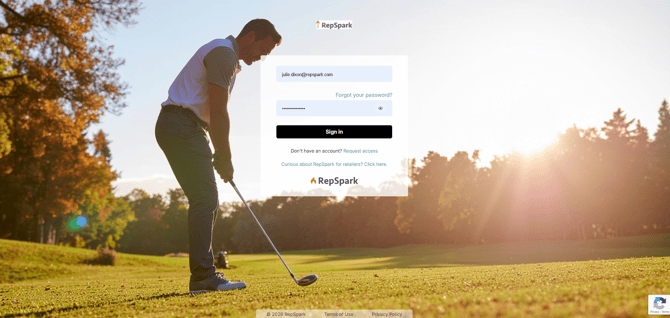
Your site’s login page is one of your first opportunities to create a branded experience for your users. When selecting an image for your login page, keep in mind these best practices:
- Use a high DPI image
- Follow the image specifications, below
The login module (where users enter a username and password) will cover the center of the image and is semi-opaque. For that reason, it’s best not to include brand messaging in the center of the image:
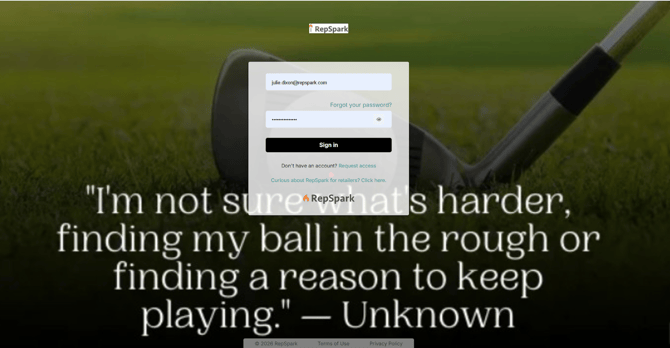
Use an aspirational or lifestyle image, rather than a product image:
Add a Login Page Image - Step by Step
Go to the “Admin” top menu option, then click “Admin Panel” from the drop down, and finally “Brand Your Site.”

Scroll down to “Login Page Background Image” and click “Upload New.”
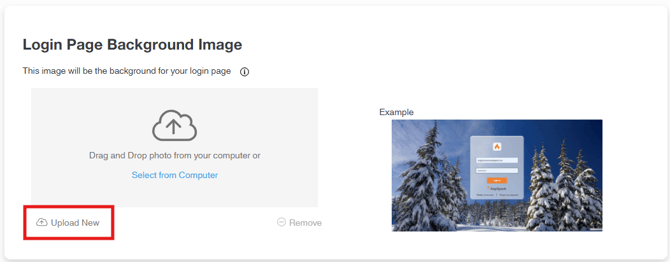
Select your desired image from your desktop or network drive. The login page image will be updated in real time. To change the image, click “Remove,” and then click “Upload Now” again to add the new image.
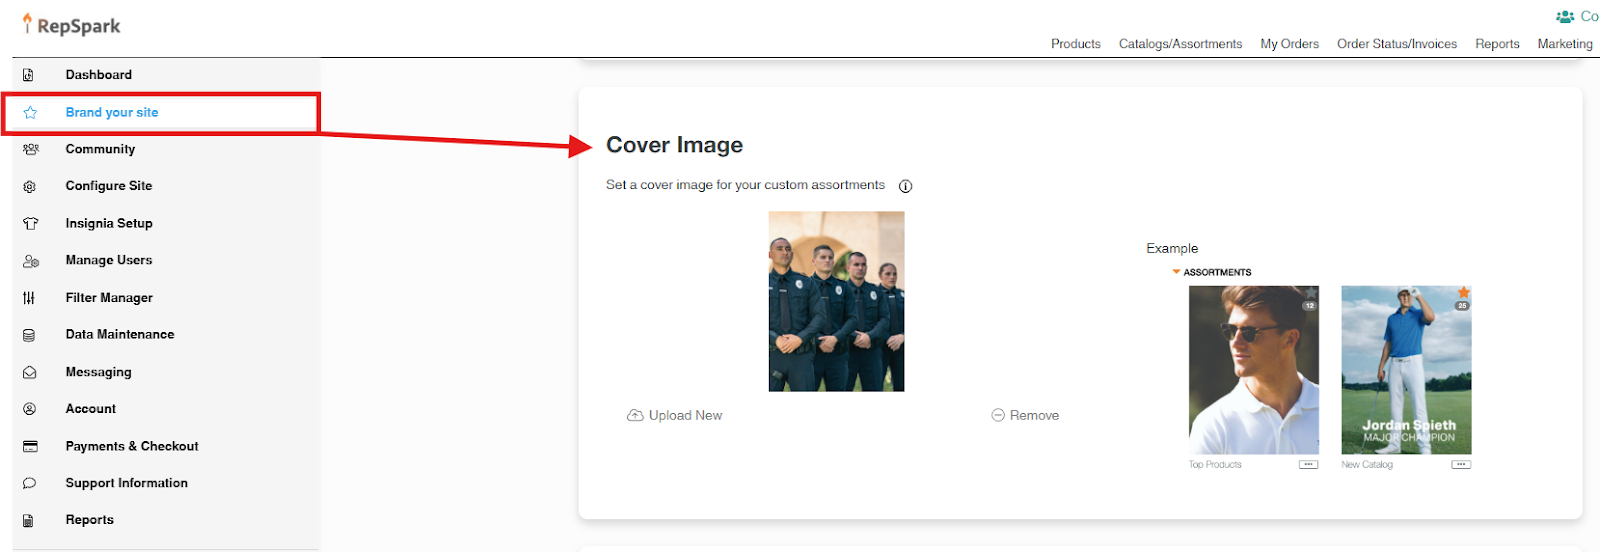
Step 3: Cover Image
A cover image adds a professional touch to your Assortments and Catalogs. You can load as many cover images as you want, at any time, including seasonal, product category, or other custom cover images. These images will be available to anyone creating a new catalog or assortment, including your sales team and customers.
You and your users will be able to add a logo and text to the image when creating an assortment or catalog: (see How to Build a Catalog for additional instructions)
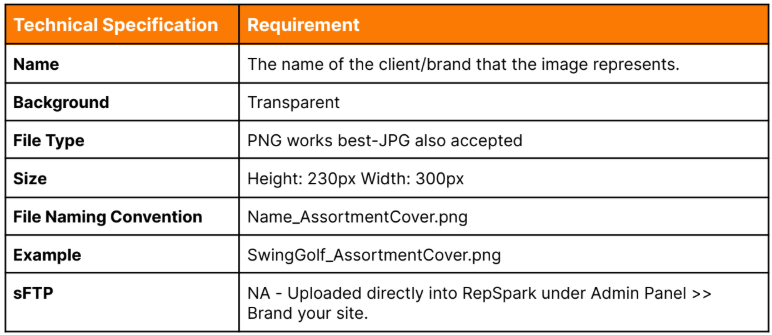
Be sure to follow our image guidelines below, to ensure the best-looking result.
Adding a Cover Image - Step by Step
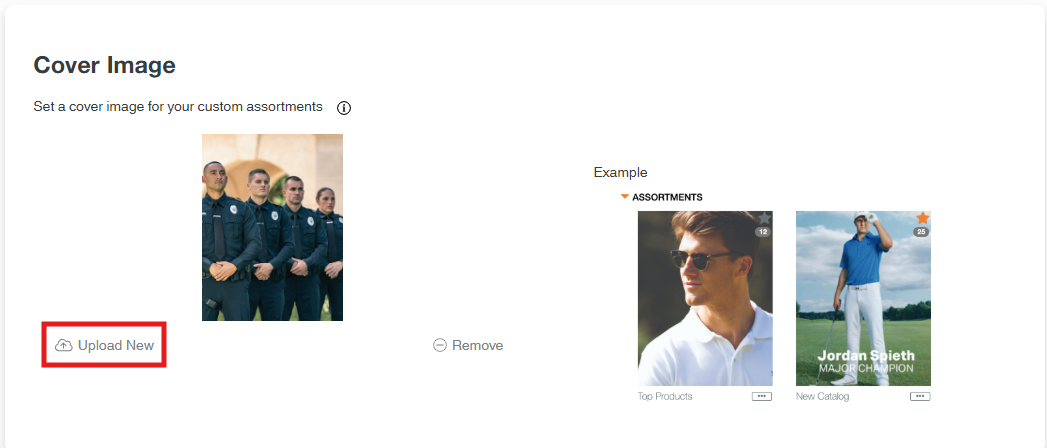
Go to the “Admin” top menu option, then click “Admin Panel” from the drop down, and finally “Brand Your Site.” Scroll down to “Cover Image.”
Click “Upload New,” then select one more more images to upload.
Step 4: Thank You Modal Background Image
Drag and drop an image to brand the page your sales team and buyers see after they have created an order. As with the Login Page, If nothing is added a default image will be shown. See product image specifications below, along with some examples.

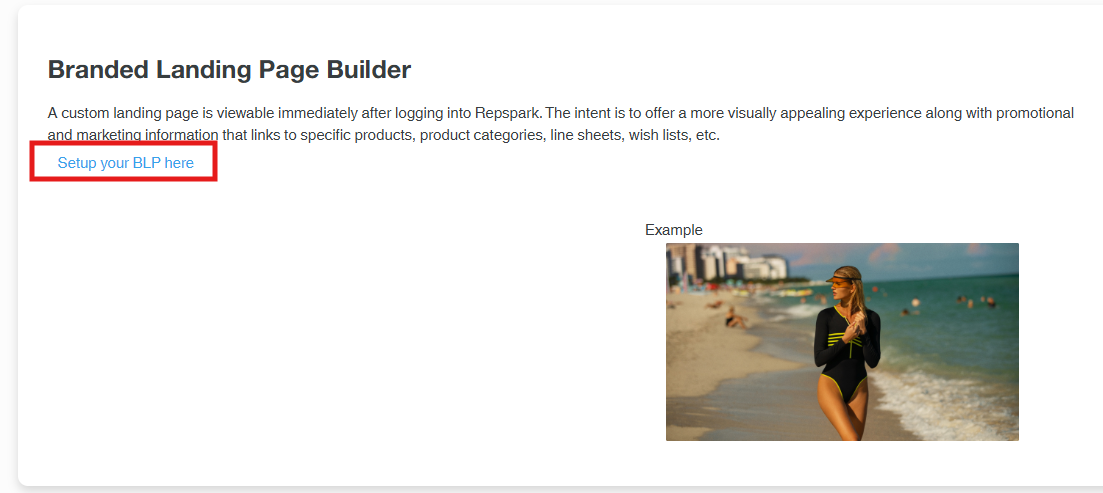
Step 5: Branded Landing Page Builder
Clicking set up here will take you to the landing page builder. This is highly recommended as this is the first page buyers and the sales team will see when they log into your site. For more details on how to build this page, click here.
Building your Branded Landing Page - Step by Step
Navigate to the Admin option on the top menu, and select Admin Panel
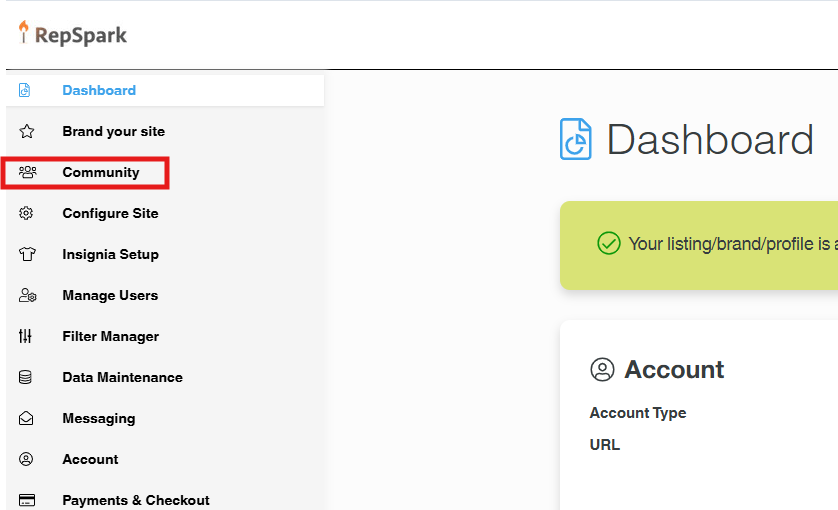
In the Admin module, select Brand Your Site:
Scroll down to the Branded Landing Page Builder option:
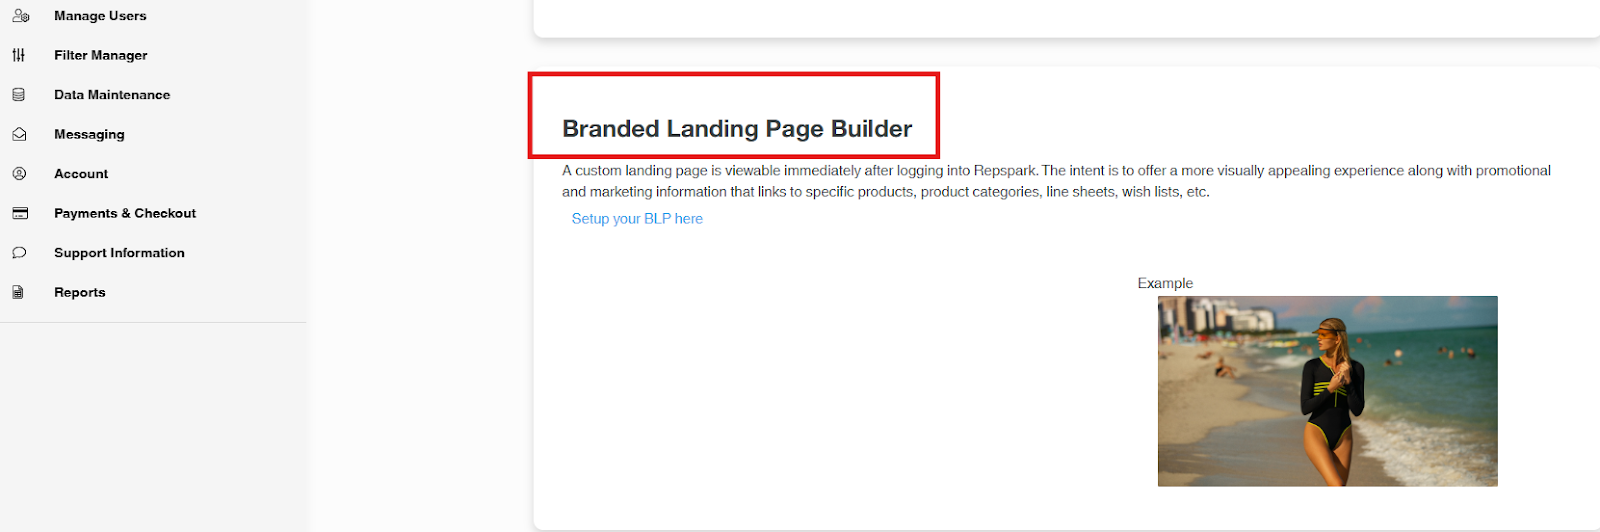
Select the Setup your BLP here link: