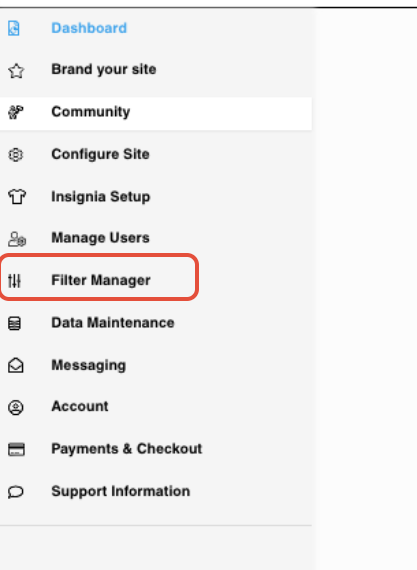
To access filter management, go to your admin panel and click filter manager.
From there you can rename and reorder the filters following the instructions below.
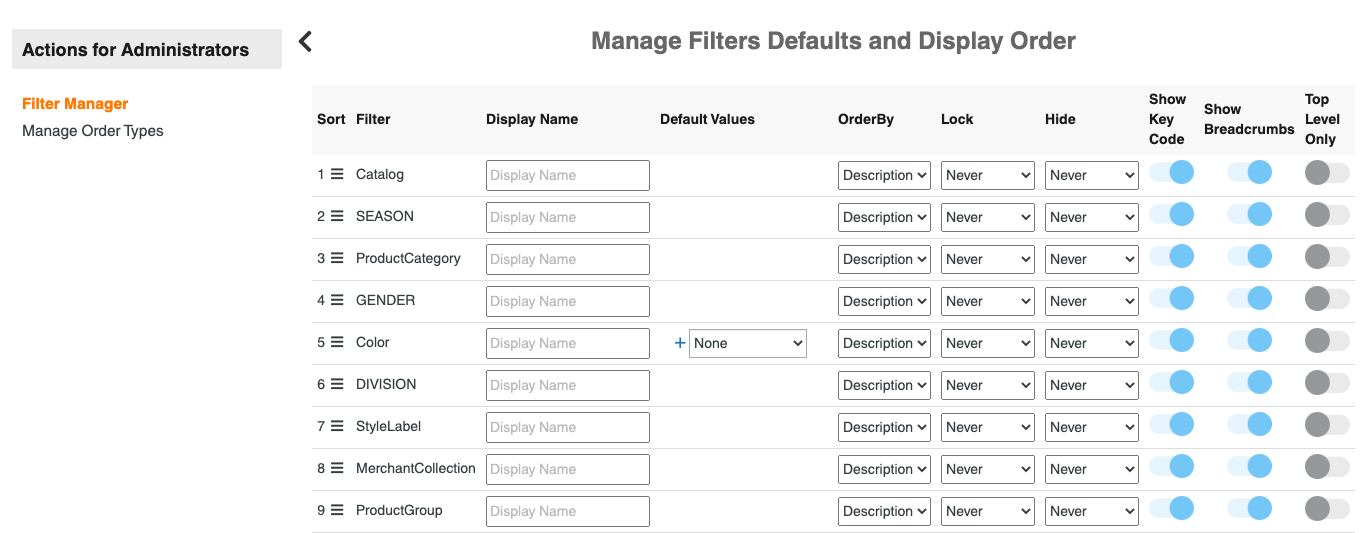
All filters that have data will be added. Typical filters are season, product category, color, and gender.
Rearranging the Filters for the Product Page
From here, you can reorder your filters display on the products page by dragging the filter using the three bar icon.

Changing the Filter Name
The filter name will come in as the data element has named it. To Rename, simply type the new name in the box to the rights of the data name. Click save at the bottom.

Setting a Default
To set a filter default (we oftentimes see this for a particular season) simply choose it from the drop down as shown below. Then click the + button. This will save those options as a default for the filters on the product page.

Setting Single Filter Order
Withing the options in each filters (ie. Product Category may have shirts, pants, shoes and shorts) you can set the order of the options under filter header by either code or description.

Hiding a Filter
If data comes in for a certain filter but you do not wish to show it on the products page, you can hide a filter always (throughout the site) or just for order entry. If choose order entry, the filter will still show in other areas of the site. The default setting will be Never which means it is not hidden.

Advanced Options
Keycodes: You can choose to show/hide the keycode. For example, if your color code For Black is BLK both Black-BLK will show up in the filter. If you set show key code off, only the work Black would show not BLK. If your keycode and descriptions are the same, you can set this to off as well so you don't see something like Black-Black.
Breadcrumbs- We recommend this to be on so the user will be able to visually see what options they've selected on the product page.
Top Level Only- If you have set up a parent/child relationship, setting this to on will only show the parent option.