You want to make sure to brand your site to make it your own. This includes uploading a logo, creating a custom login page for your unique url generated when creating your site and adding a branded thank you page for after a buyer places an order.
Please watch video here to walk through the process and best practices.
Please see below opportunities to brand your site.
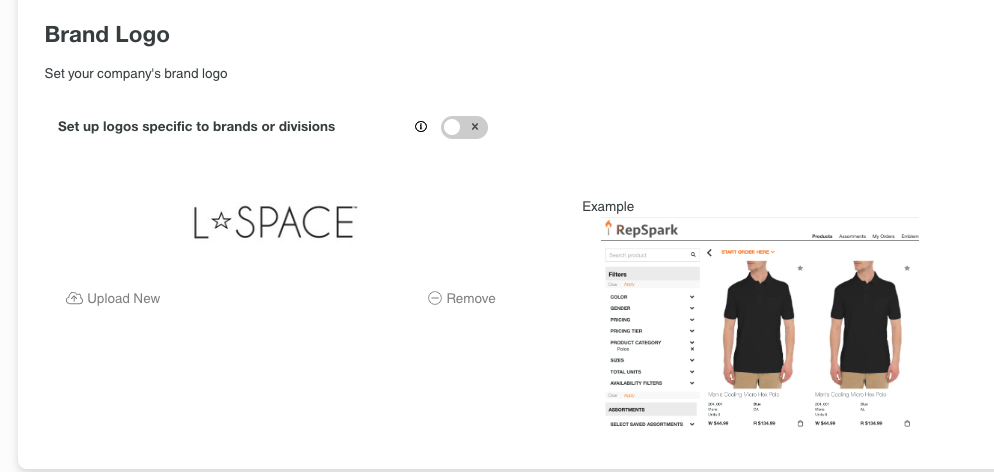
Step 1: Upload Logo
Upload your brand logo. You can click "upload new" to select a logo from your desktop. You can also toggle to add multiple logos for different divisions. This logo will show as in the login, top navigation, catalogs, emails, PDF's and order confirmations.
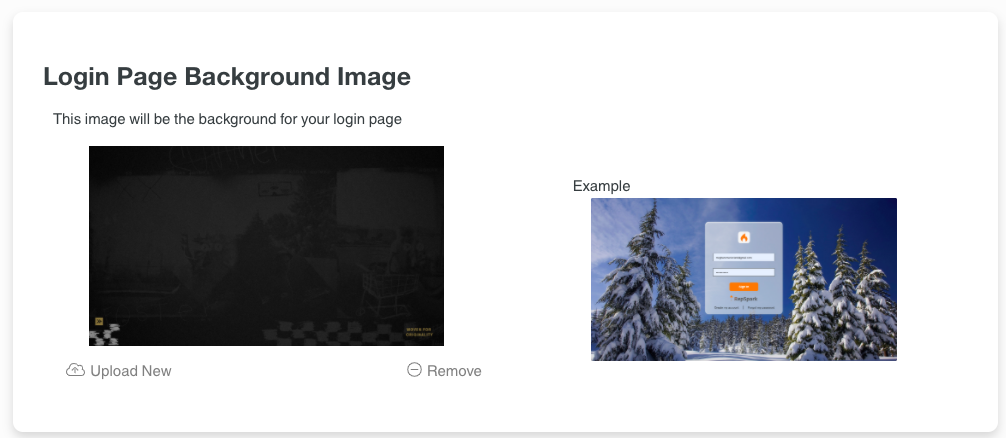
Step 2: Login Page Background Image
Drag and drop an image to make your custom login page share your brand story. You can click "upload new" to select a logo from your desktop. If nothing is added a default image will be shown. Minimum image size is 1920px by 1080 px (WxH)
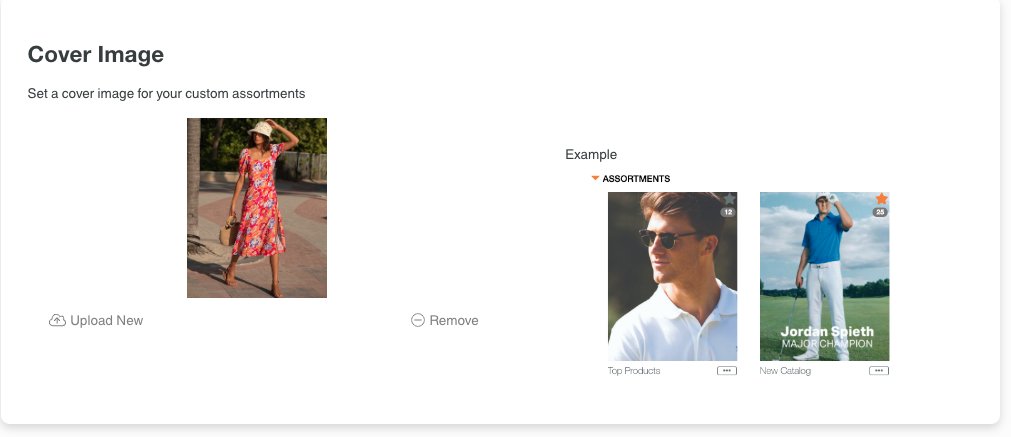
Step 3: Cover Image
Drag and drop one or many images for your sales and marketing team to use in catalog covers and assortments. This can be done at any time and can also be added in the marketing section. You can click "upload new" to select one or many images from your desktop. Recommended image size is 1024 px by 768 px (WxH)
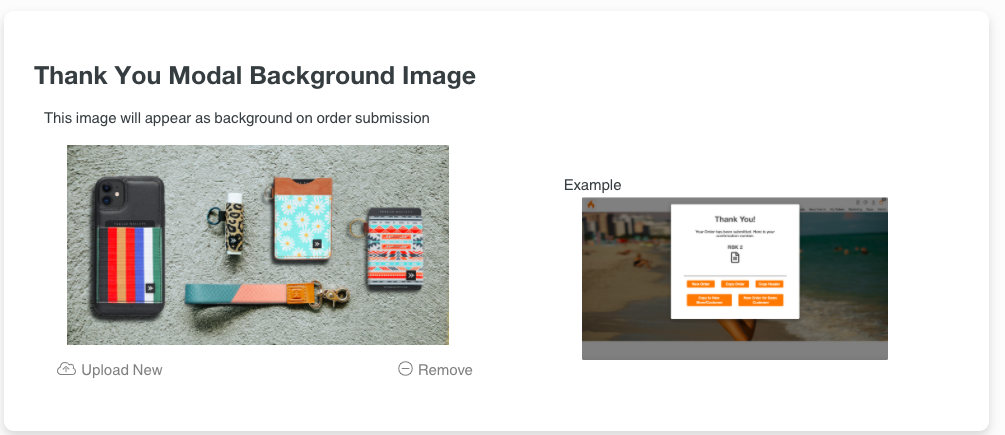
Step 4: Thank You Modal Background Image
Drag and drop an image to brand the page your sales team and buyers see after they have created an order. This can be an image to say thank you, to share your top selling products or to simply share your brand story. You can click "upload new" to select an image from your desktop If nothing is added a default image will be shown. Minimum image size is 1920px by 1080 px (WxH)
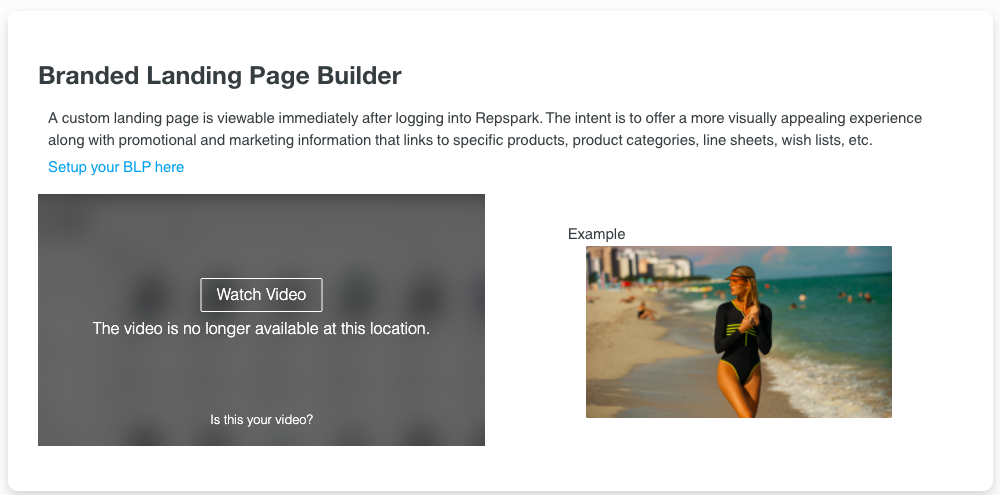
Step 5: Branded Landing Page Builder
Clicking set up here will take you to the landing page builder. This is highly recommended as this is the first page buyers and the sales team will see when they log into your site. For more details on how to build this page, click here.