How to Add a Canvas Page to the Digital Catalog
- Once you have created a catalog, create the Add New Page and the top of the page to add a Canvas Page.

- Next select your Layout by clicking on the Canvas icon.

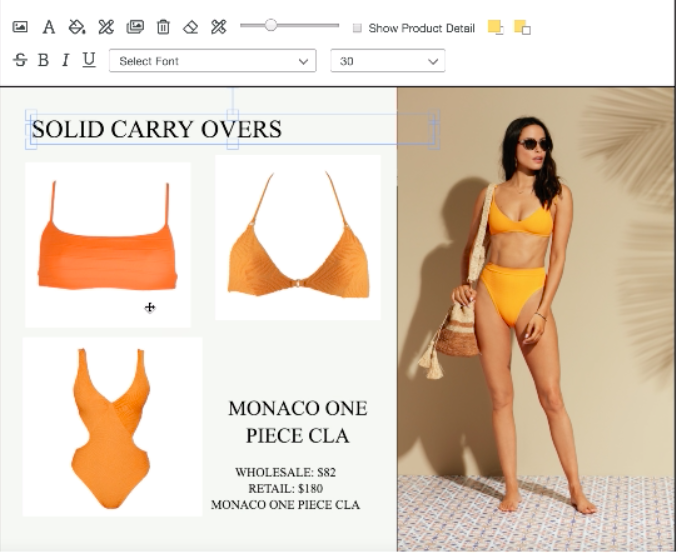
- Use the toolbar below to add images, text and and backgrounds. Made a mistake? No problem. Just select the eraser icon to erase the last action or the trash can icon to delete the last image uploaded. If you are overlaying multiple images, use the yellow icons on the right to select which images will be on top.
- Click on the picture icon to drag and drop or upload an image. Use the A icon to add text. Use the paint icon to add color.

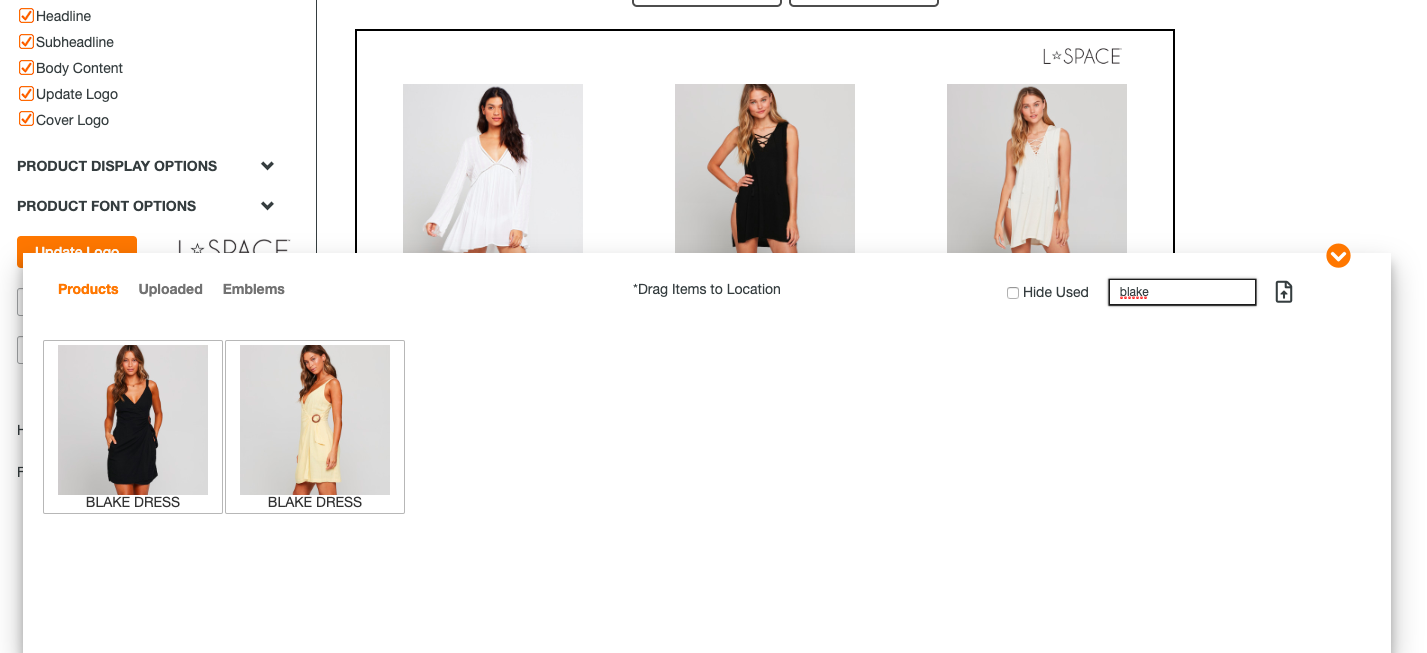
- To add products to your canvas, click on the Products icon at the bottom of the page.

- From there, type in the product name or product number that you would like to add to the catalog. Next, drag the image into the canvas page.
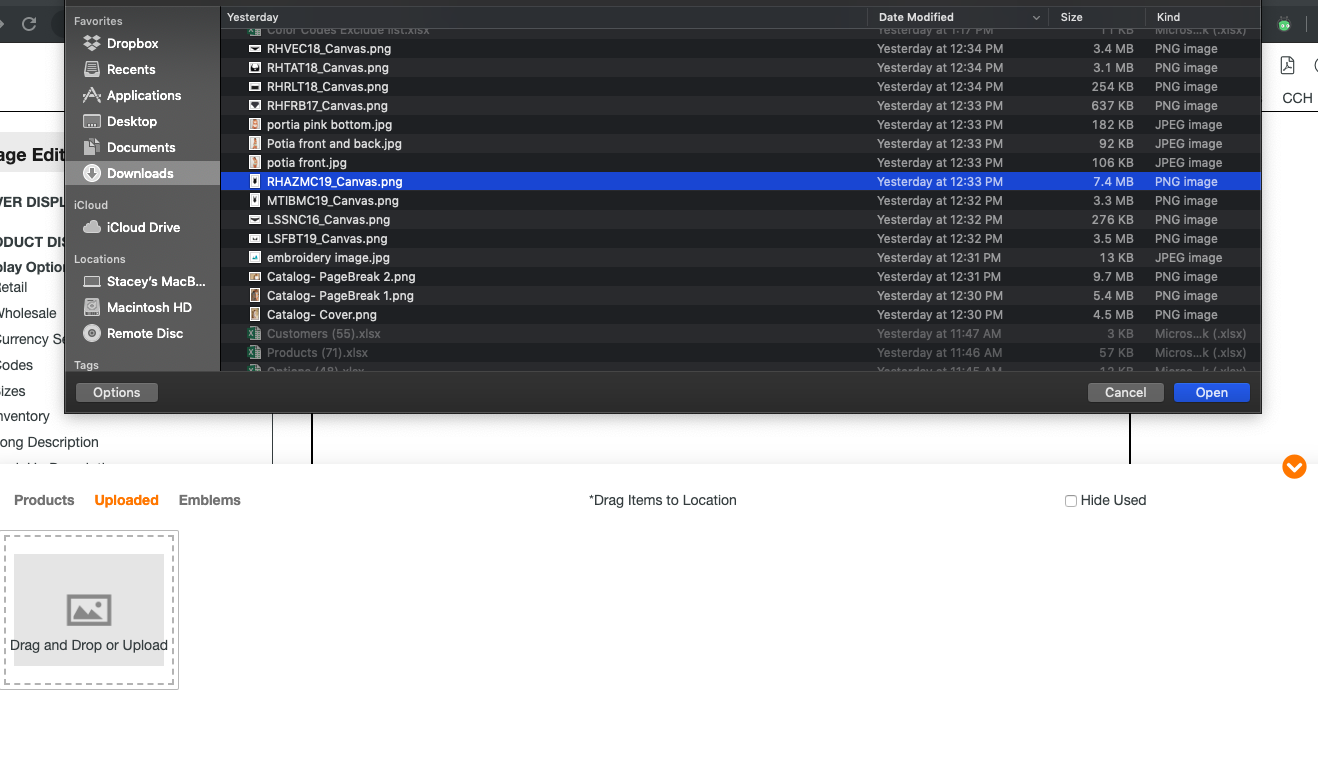
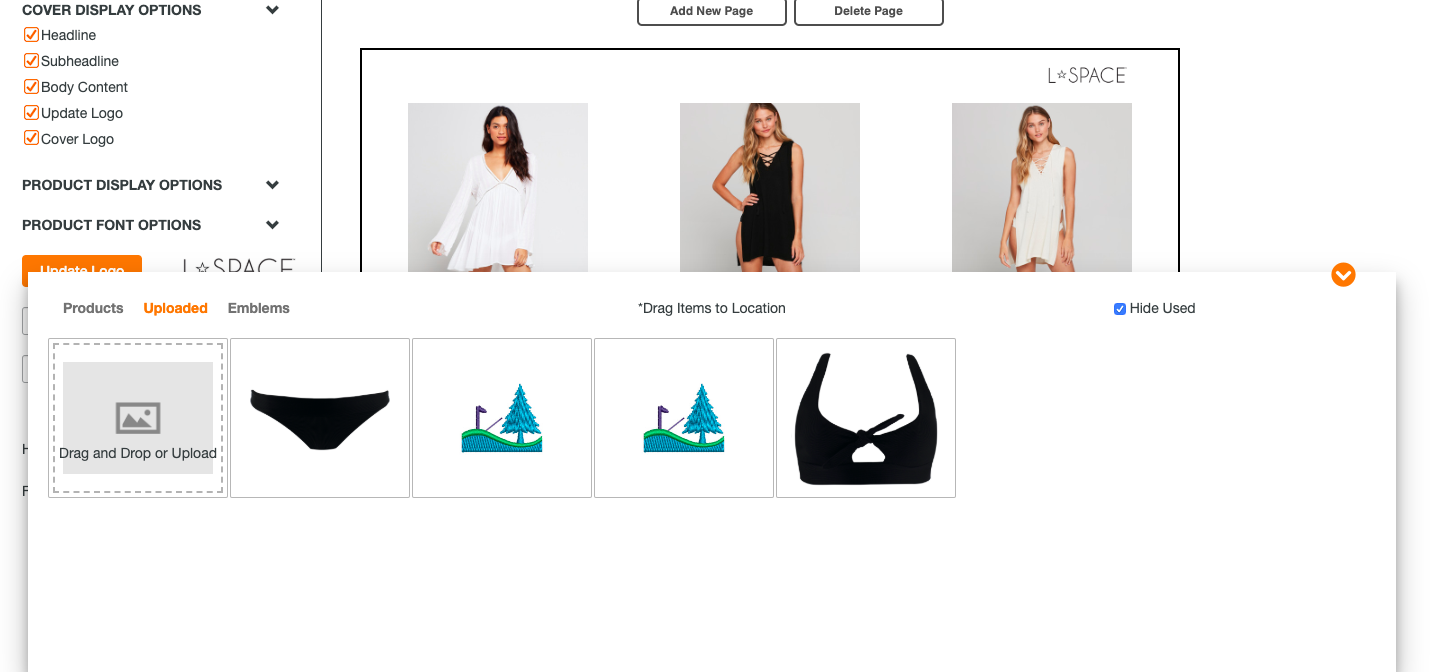
- To upload new product or marketing imagery, click on the Uploaded Icon. From there drag and drop or click on the icon to choose a file from your computer.
- Once uploaded, drag and drop the images into your catalog. You can also click the Hide Used checkbox if you would like to exclude images you have already added to your catalog in this view.
- You can add images that will layer on top of other images, background images, marketing images and change the sizes of each image you are working with to create a lifestyle page that will fit in between your product pages. With the canvas tool you can also create "Shop the Look" pages for your buyers to browse.
Check out our other tutorials on how to create a Cover and Products pages for your catalog.