Step 1: Create a New Assortment
Create an Assortment that contains all product that you want to add to the Catalog or Line Sheet. This can be done in 2 way:
a. From products page, at the bottom of the filters, type in an assortment and click on the plus button to add to the assortment.
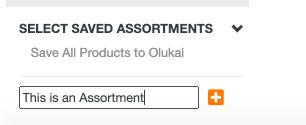
From there, you will name the assortment (Spring Catalog Products) and click Set as Default.
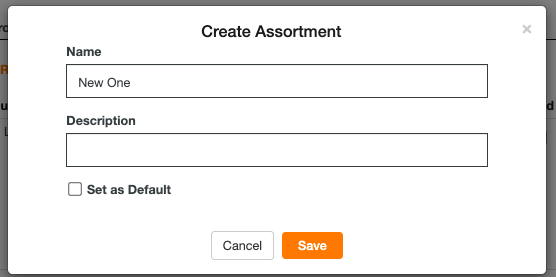
b. From the Catalogs/Assortments Page, click the + button. A new assortment will be added.

A new assortment will be added. Add the name and click enter. Then, make sure it has the orange star selected as that will designate this is the active Assortment. From there, move to the products page.
Step 2: Add Products
From the products page, add products by clicking on the star next to the product you wish to add.
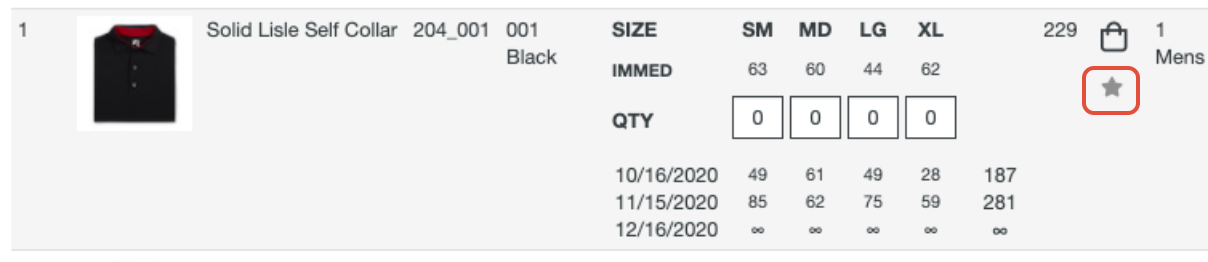
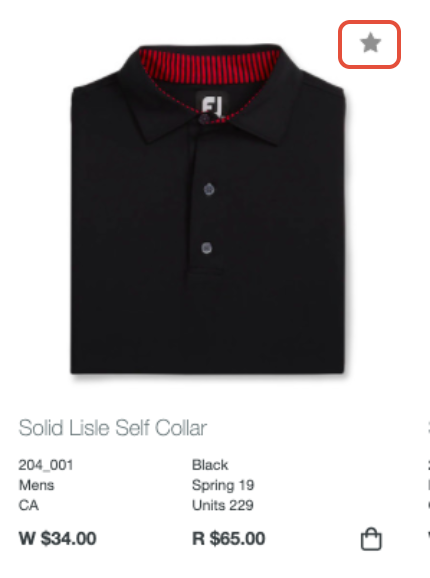
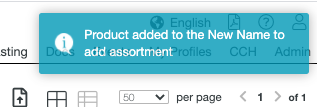
When the star is clicked, you will get a notification like below that the product has been added to the active assortment.
Step 3: Review All products Added the the Assortment
Once all style/colors have been added, click back to the Catalogs/Assortments tab. Then, click into the specific assortment you have created to build this catalog/linesheet. If you need to add more product, click back into the Products page and continue to add by clicking on the Star. If you are comfortable with the product added, click "Create New Catalog" from the drop down shown below.

Step 4: Create the Catalog
Then, follow the steps and build and create the catalog. If more direction is needed here, please view the below associated user guides.
1. Setting Up Your Catalog: Click Here
2. Building the Catalog (once Set Up is complete): Click Here
3. Other informative user guides can be accessed Here