In this article, you will learn how to use more than just one image to showcase your Products in RepSpark.
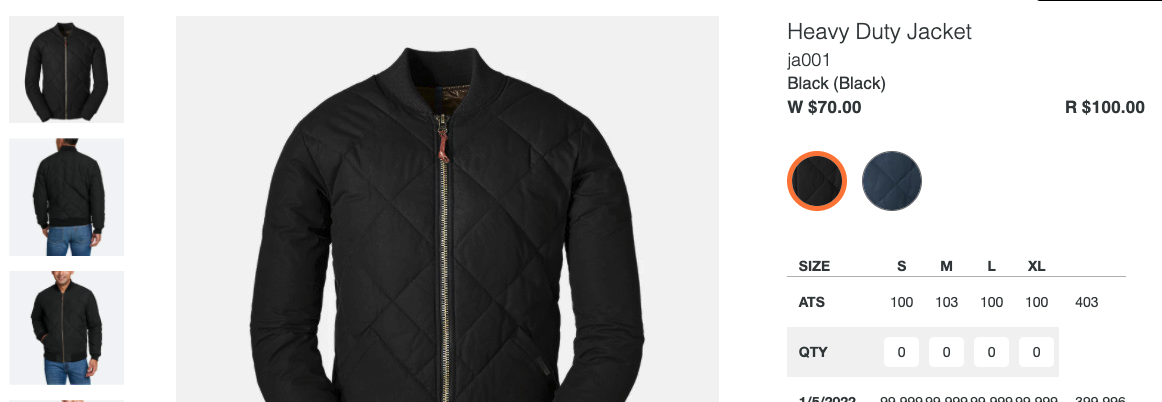
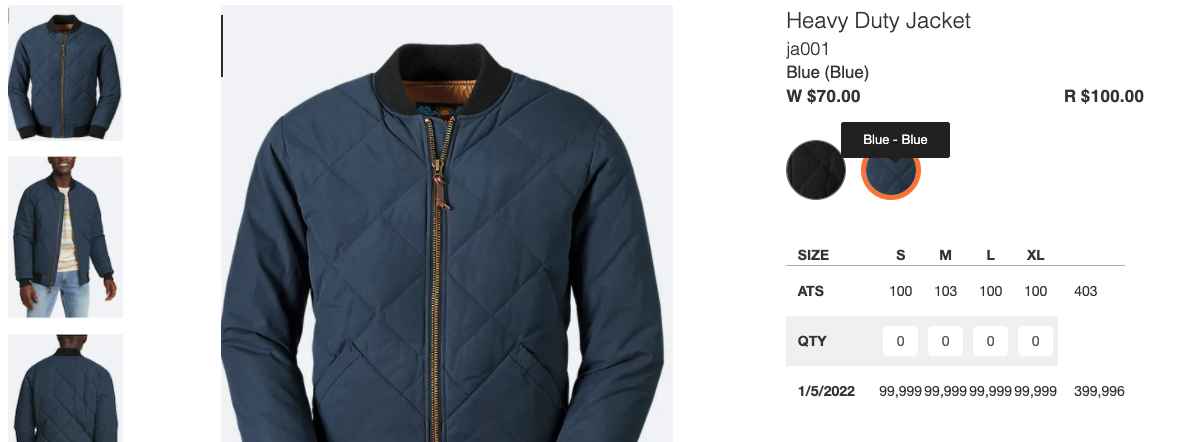
As a quick update: When you first set up your products in Shopify and add an image for your Variants, you will see the same product with the different colors, for this example, it is Black and Blue.
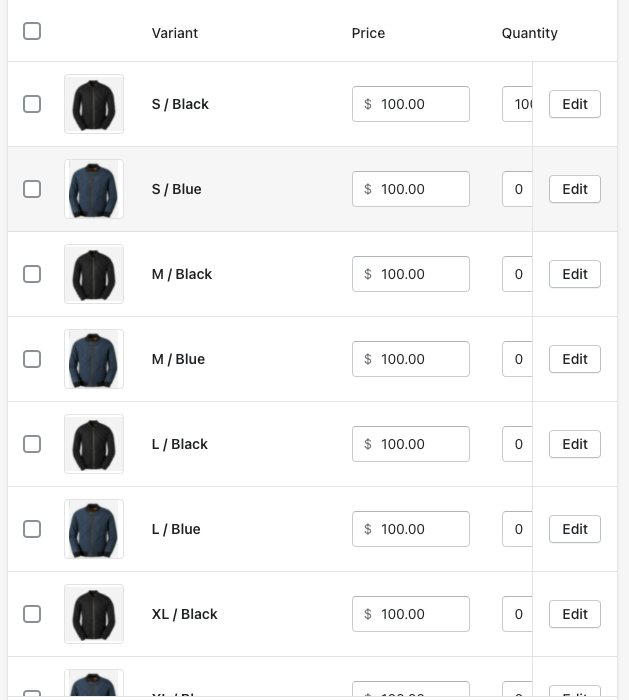
Once you go into Admin Panel and Sync the Products and Assets, you will see the Products and Images populate on RepSpark.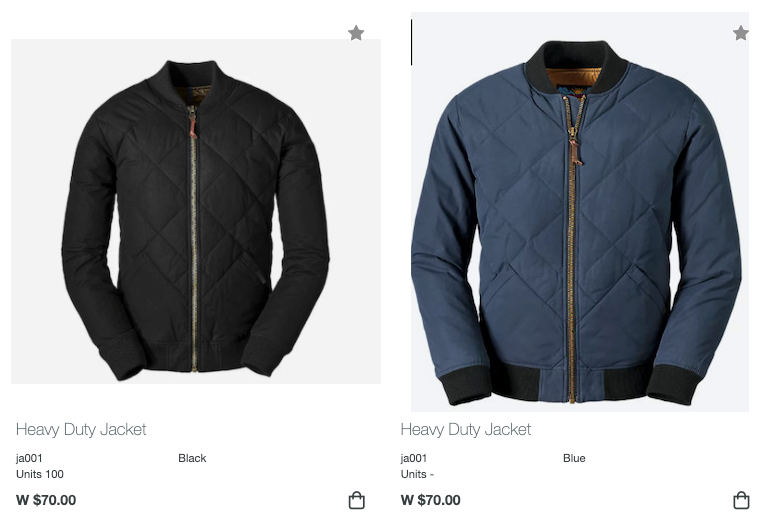
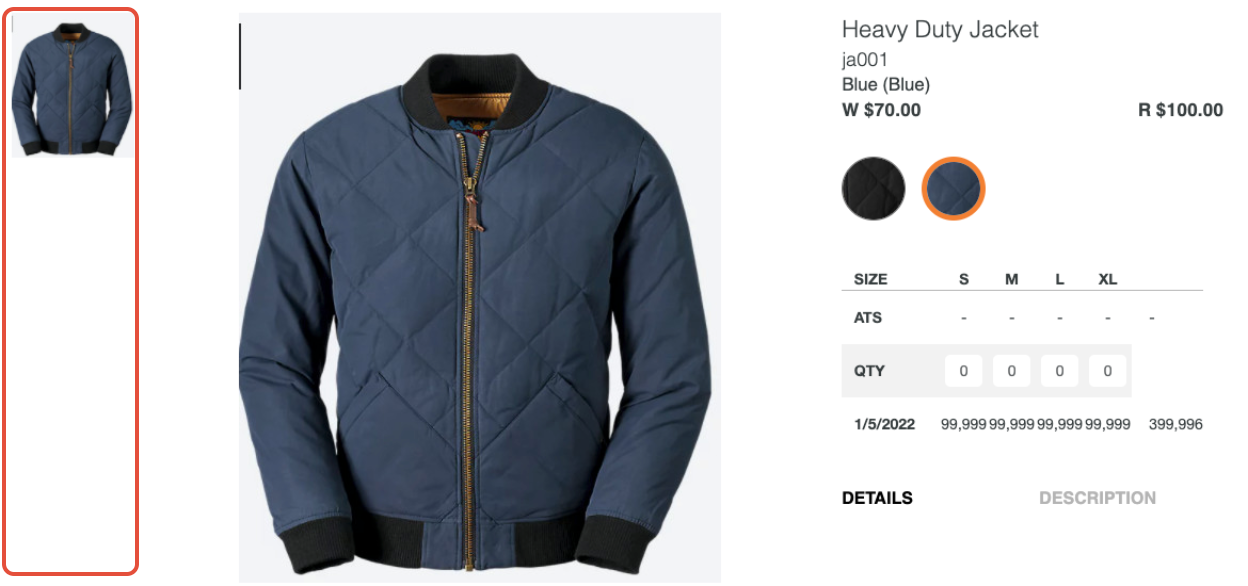
If you have alternate images in Shopify for the Products, they will not show up correctly when you view them in RepSpark. All the alternate images will be associated to one of the colors and the other color will not show any alternates.
NOTE: To organize the correct order of alternate images, add either _1,_2,_3 or _a,_b,_c to the end of the images. The 'hero' image will not have anything at the end of the image name.

ASSOCIATING ALTERNATE IMAGES CORRECTLY
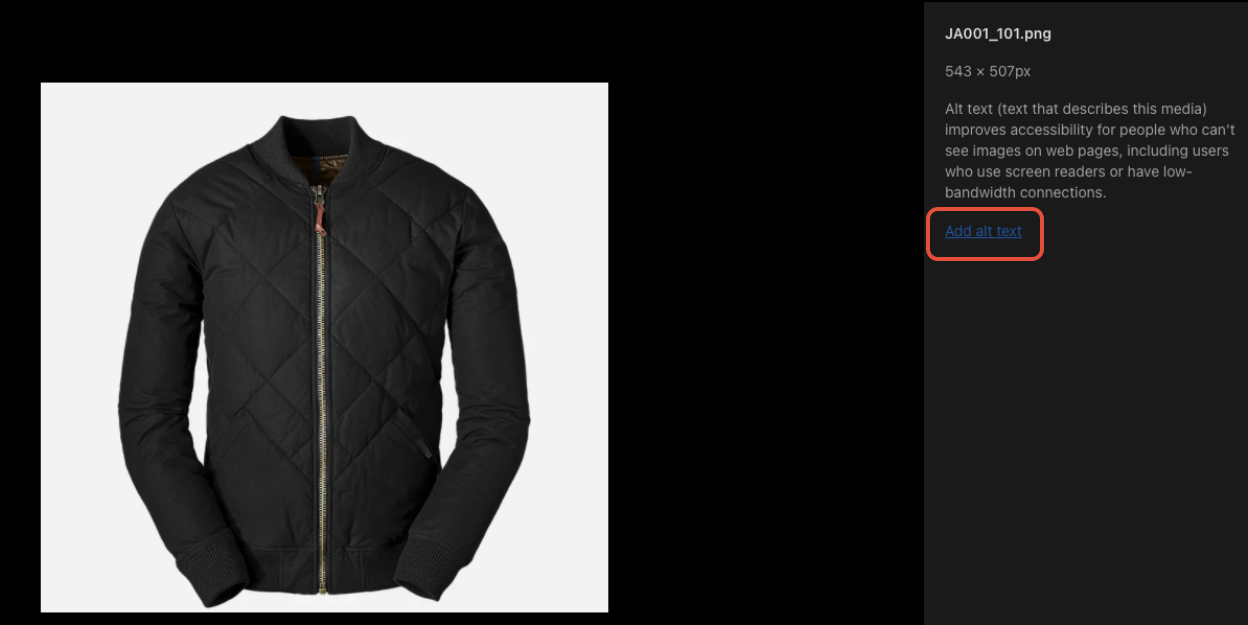
When you are in Shopify, select a Media image to look at it's image details(i.e. pixel size and image name).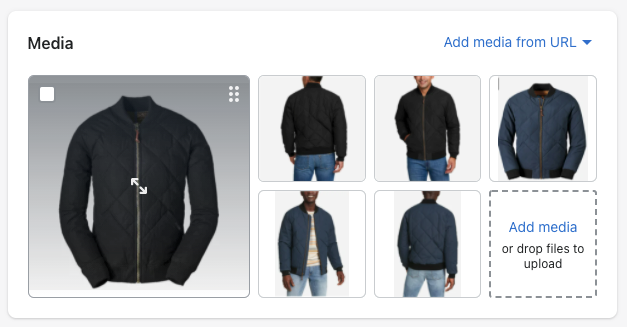
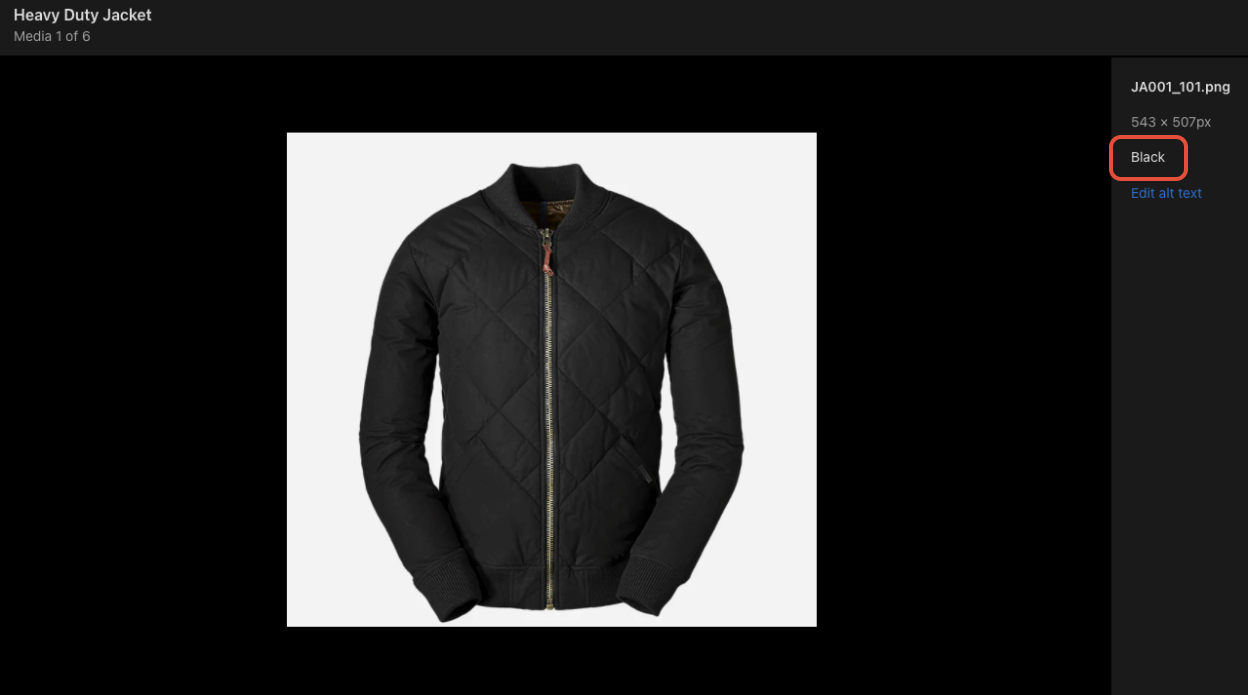
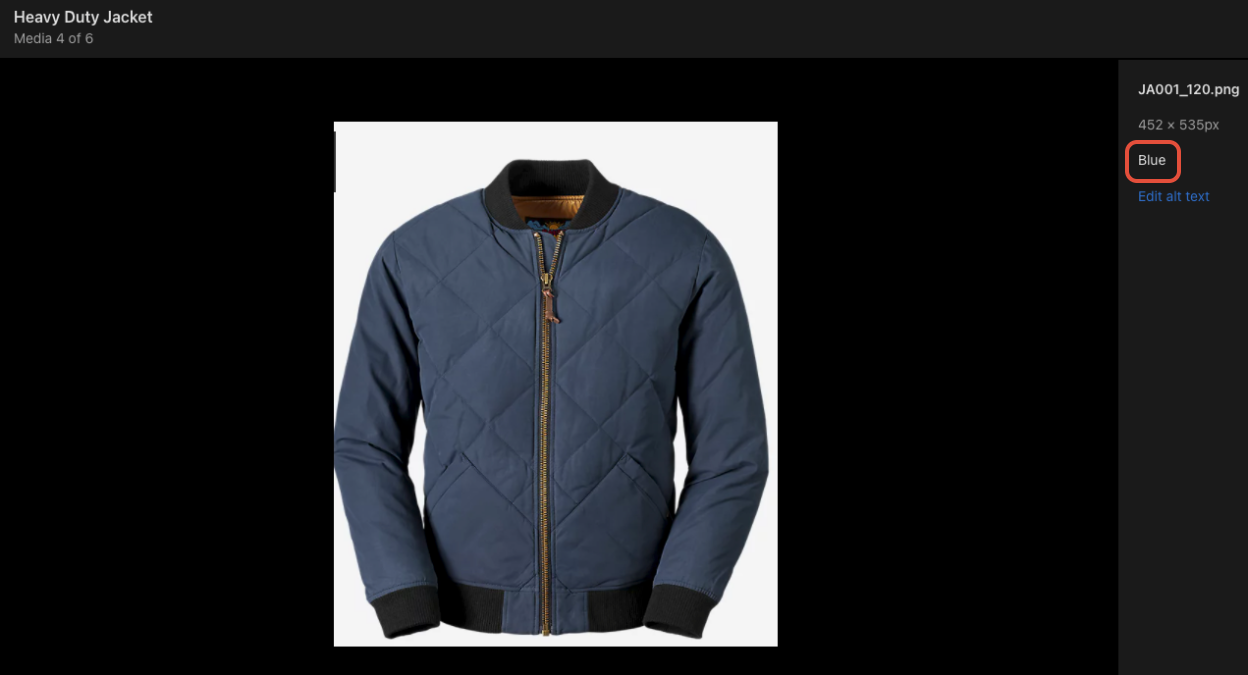
When the image details pops up, select ADD ALT TEXT on the right side. This will allow you to add the color of the Product to the image. You need to associate the image name using the ALT Text with the color for the image.

Once you have gone through each image and have associated it with the correct color, go into your Admin Panel - Connect Data - Integrations and SYNC Products and Assets to make the changes sync over to your Site.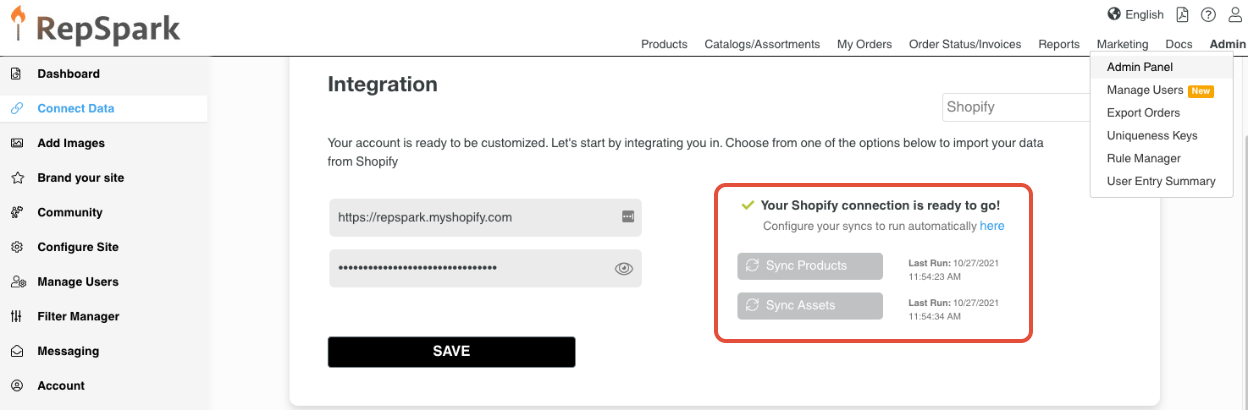
The Products will show up correctly with the alternates associated to the right colored product instead of just one of the products.
CLICK HERE to view a brief video walking you through all the steps listed above.