- Help Center
- Assortments & Catalogs
- Setting Permissions
-
Getting started
-
Integrations
-
PGA x Accelerate
-
API
-
Assortments & Catalogs
- Creating Order From Favorites- Using the Multi Delivery Board
- Digital Catalog Editor-Creating Your Digital Catalog
- How to Create an Assortment
- Adding a Canvas Page
- Linking a Showroom or Technical Video to a Feature Page
- Creating an Assortment with Embroidery
- Video Demo of Virtual Showroom
- Favorites List Workflow
- Multidate Orders using the Digital Catalog Enhancement
- Ordering From the Digital Catalog
- New Wish List Features
- Setting Permissions
- Browsing and Marking Up the Digital Catalog- Creating and Shopping a Favorites List
- Creating a Line Sheet
- Wish List Tutorial
- Wish List Cover Images
- New Assortments Tab
- FAQ's
- Catalog- Single Page Mode for Smaller Form Factors
-
Wholesale Order Entry
-
Accelerate
- RepSpark Go App
- Exporting My Orders
- Admin Dashboard
- Setting Up and Managing My Users
- Filling In and Uploading the Excel Sheets
- Filters and Sorting Products
- Getting Started
- Creating My Digital Catalog
- Adding My Images
- Reporting
- Exporting ATS to Excel
- Branding My Site
- Insignia Lite in Accelerate
- FAQ's- Really, FAQ's
-
Microsites
-
Admin
-
Data Management
-
B2B Users
-
Marketing
-
Reporting & Analytics
-
Software Updates
-
Internal
-
Community
-
RepSpark Pay
Setting Permission in the Digital Catalog
Digital Catalog Permission Settings
Once you have created a catalog, you can share the catalog with everyone, certain roles or specific users.
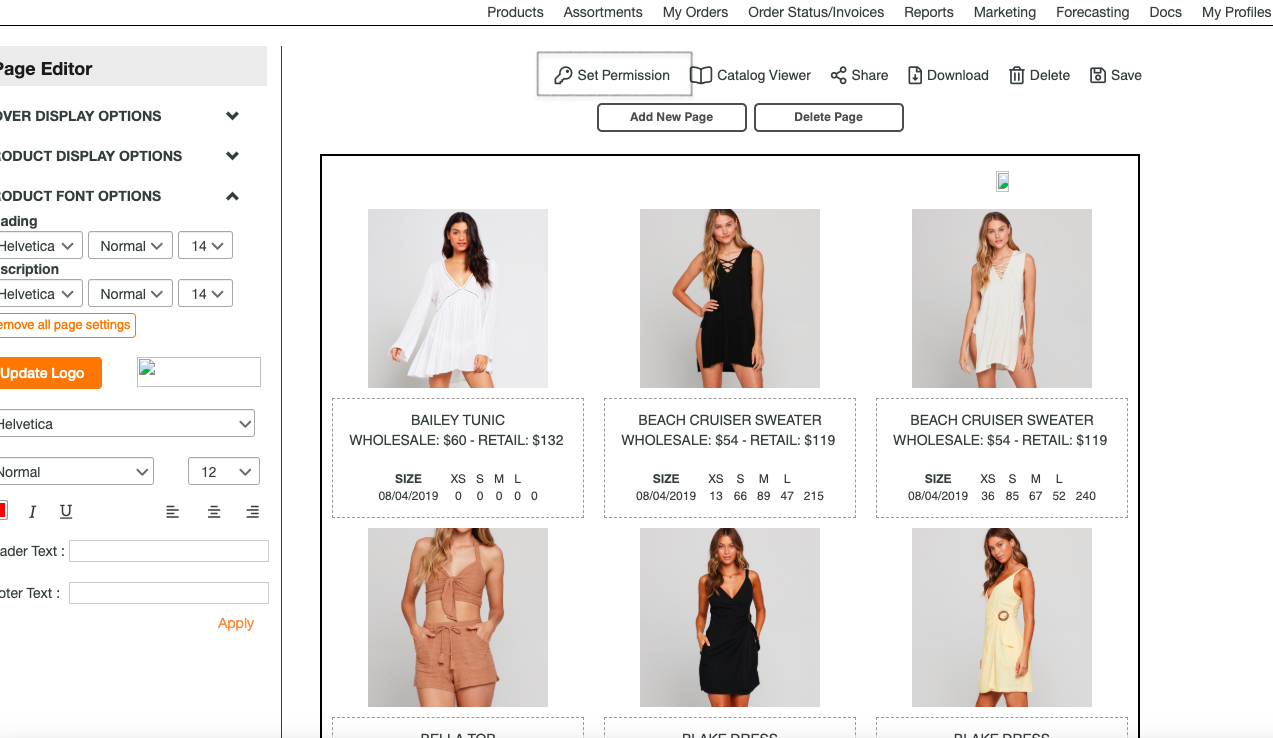
- In the Digital Catalog tool, once you have created your catalog, click the Set Permission icon at the top of the page.
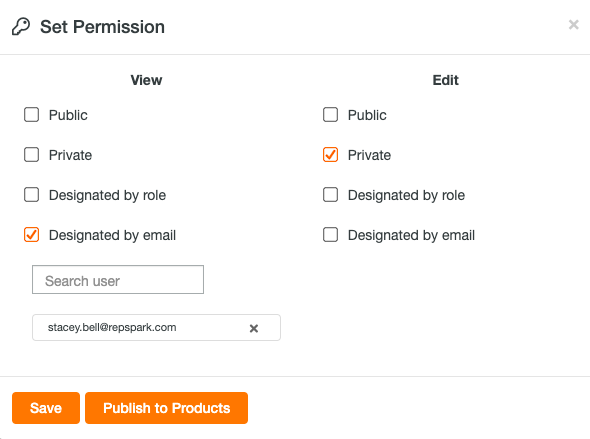
- From there, you can select what users can View and Edit in your catalog. Select the checkbox to keep the catalog private to you or share with all users. You can also elect to share the catalog to designated user roles such as salesperson or customer. If you would like to share the catalog with specific email addresses, click the Designated by email checkbox and type in the user's email address. To enter in multiple email addresses, enter and add each email address separately into the text box.
- Lastly, select Save or Publish to Products.